|
Voice to text is a feature which is provided by the mobile device operating system. This article will explain how to utilize the voice to text features of your mobile device and apply that to Handheld Contact. Voice to text will allow you to dictate text to be saved into a History or Note. This feature is not the same as voice commands that are available with Siri or Google Assistant.
Note: Voice to text will only work with fields where text will be entered. This is best suited for Activity Regarding and Details fields as well as Notes. The following directions will be for adding a Note using voice to text.
iOS devices (iPhone/iPad):
- Open Handheld Contact on the device.
- Tap on Contacts and find the contact record to add a Note.
- Once the contact is opened, scroll to the Notes tab.
- Press the '+' icon in the upper right corner.
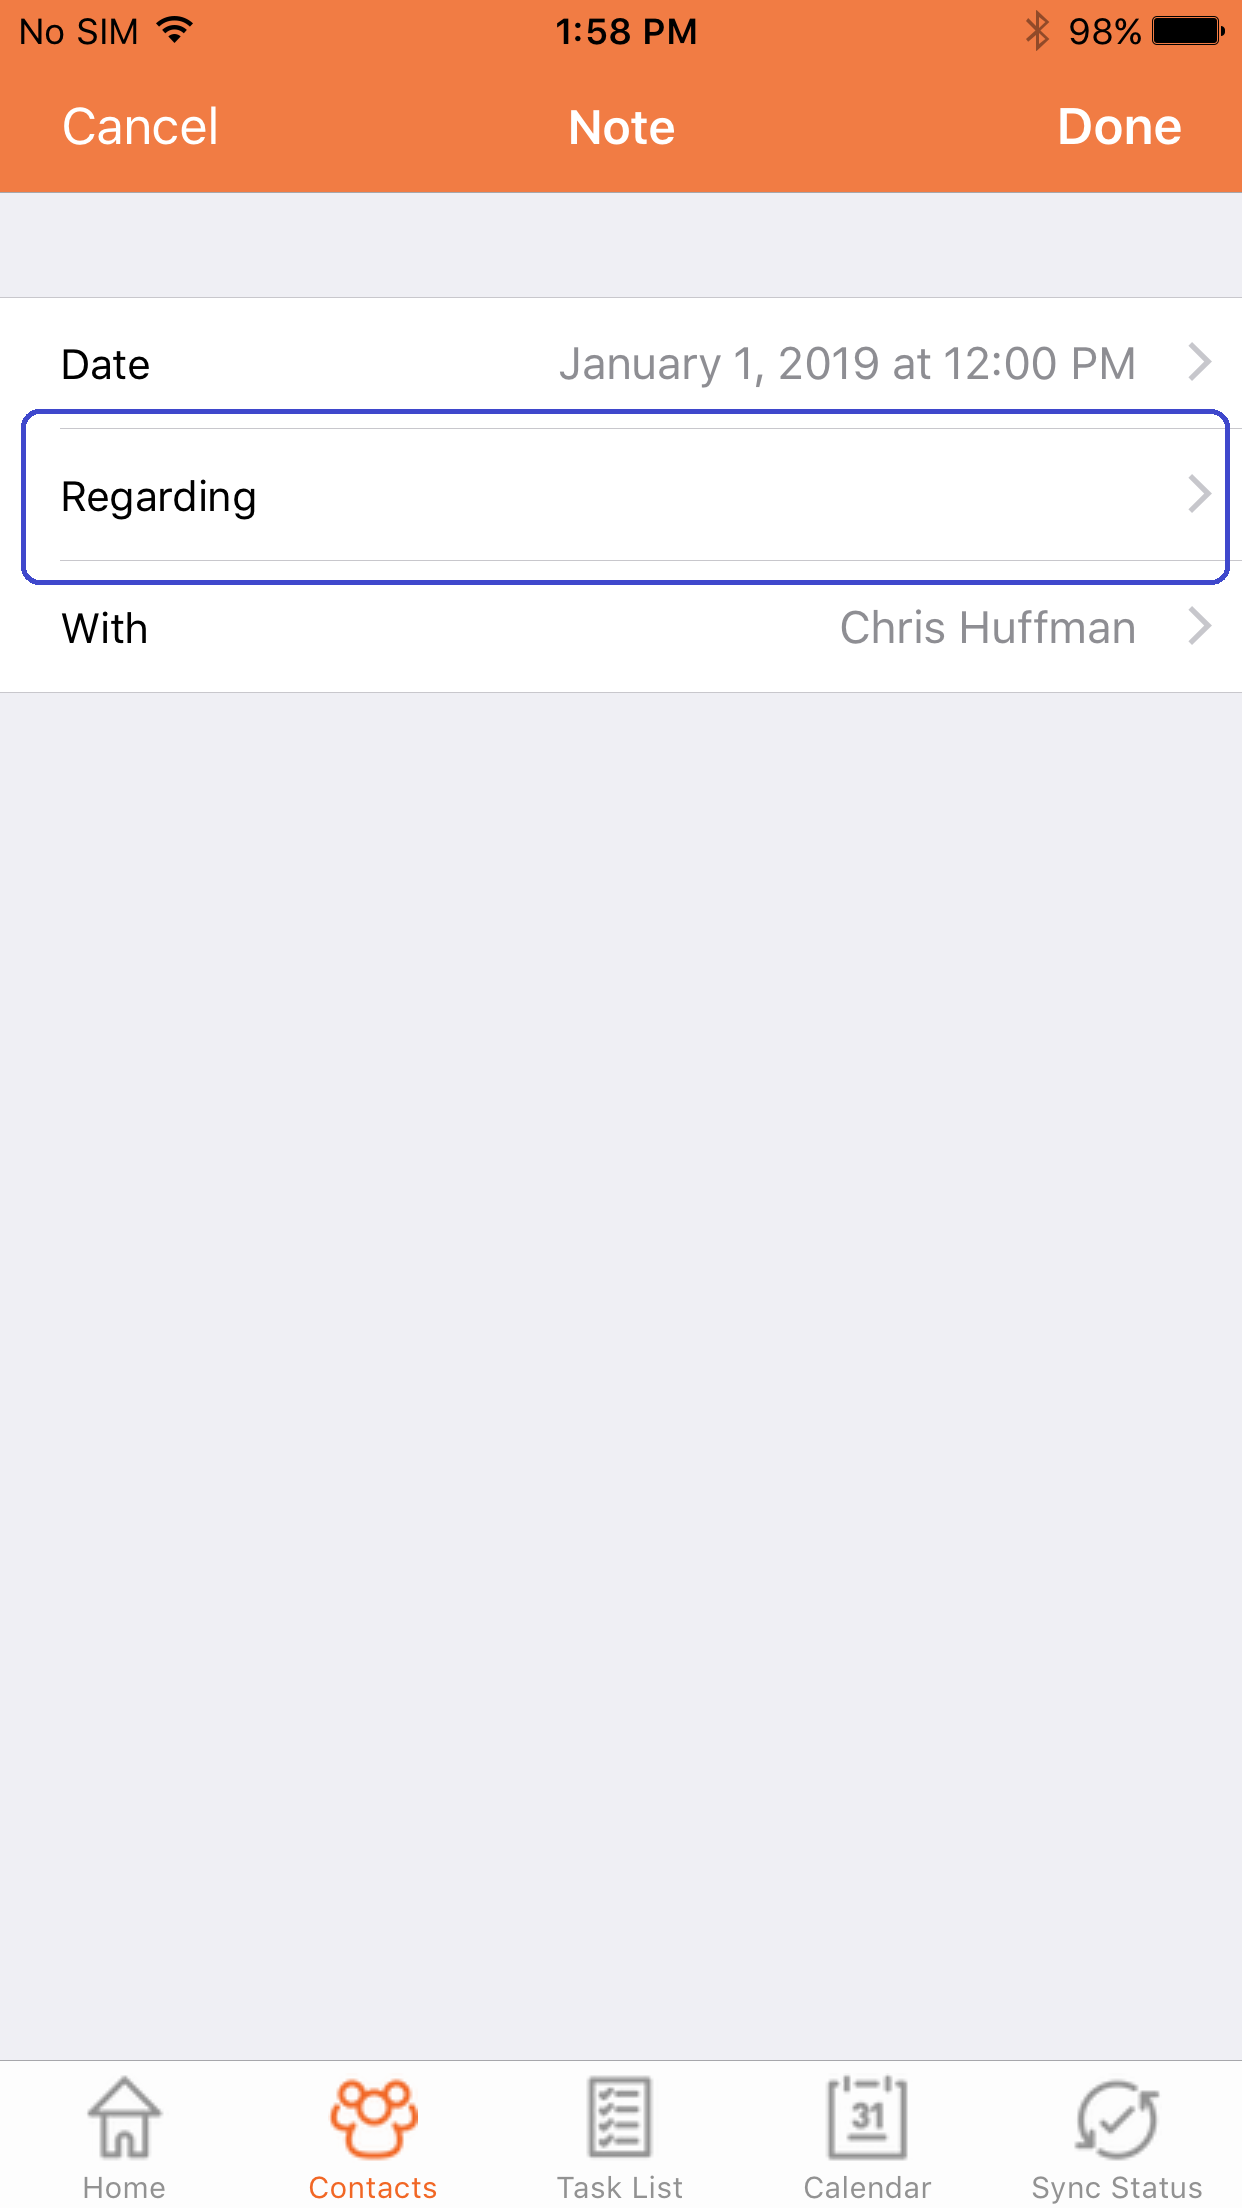
- Set the Date of the Note then tap on the Regarding field. See this image.
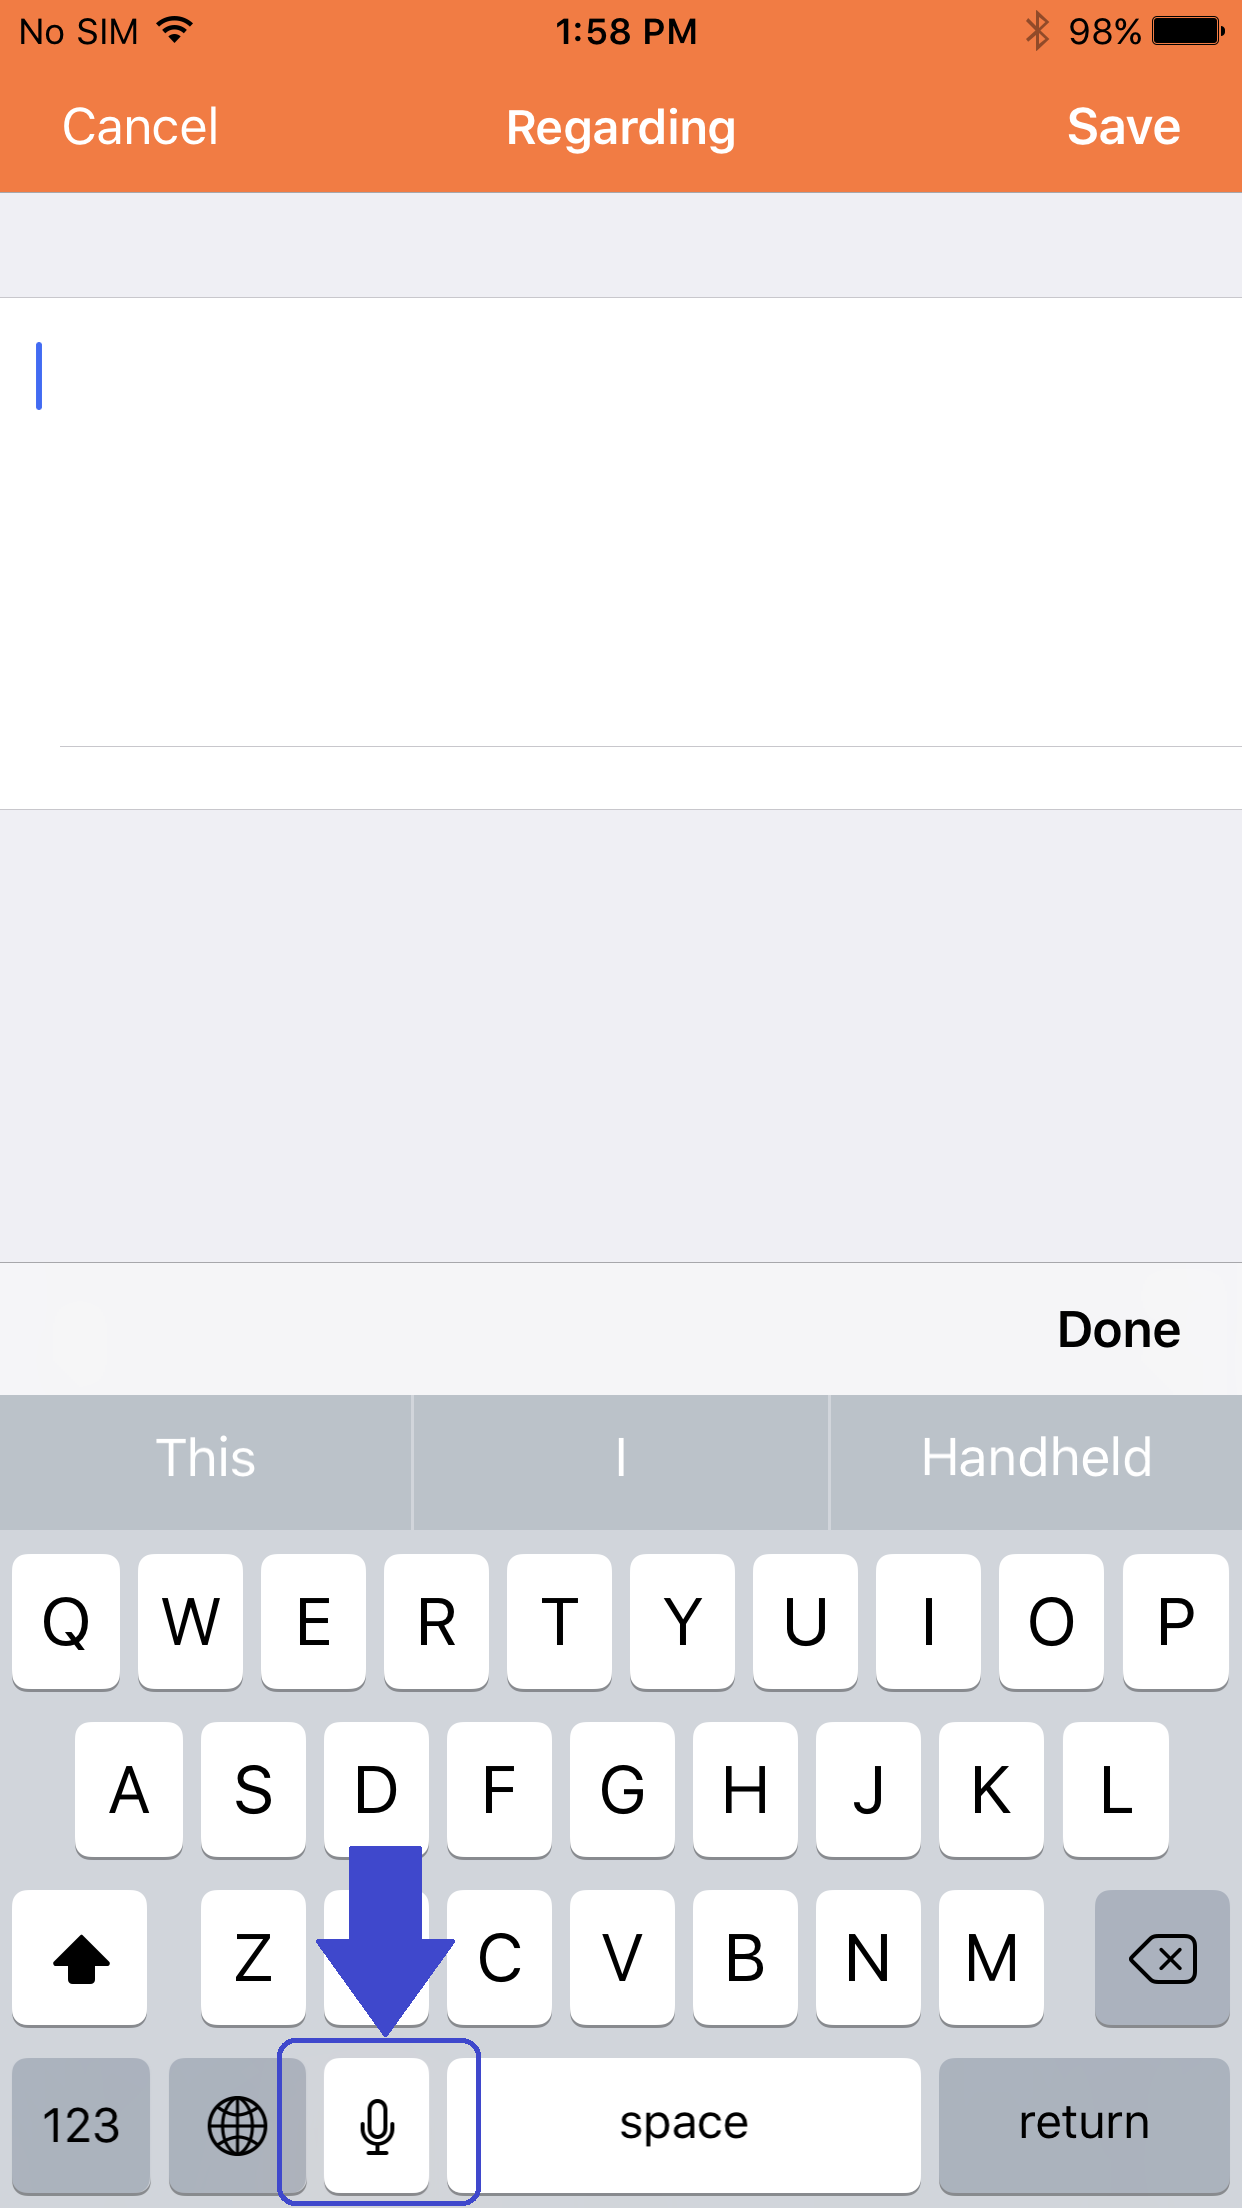
- Open the keyboard of the device and look for the microphone icon. See this image.
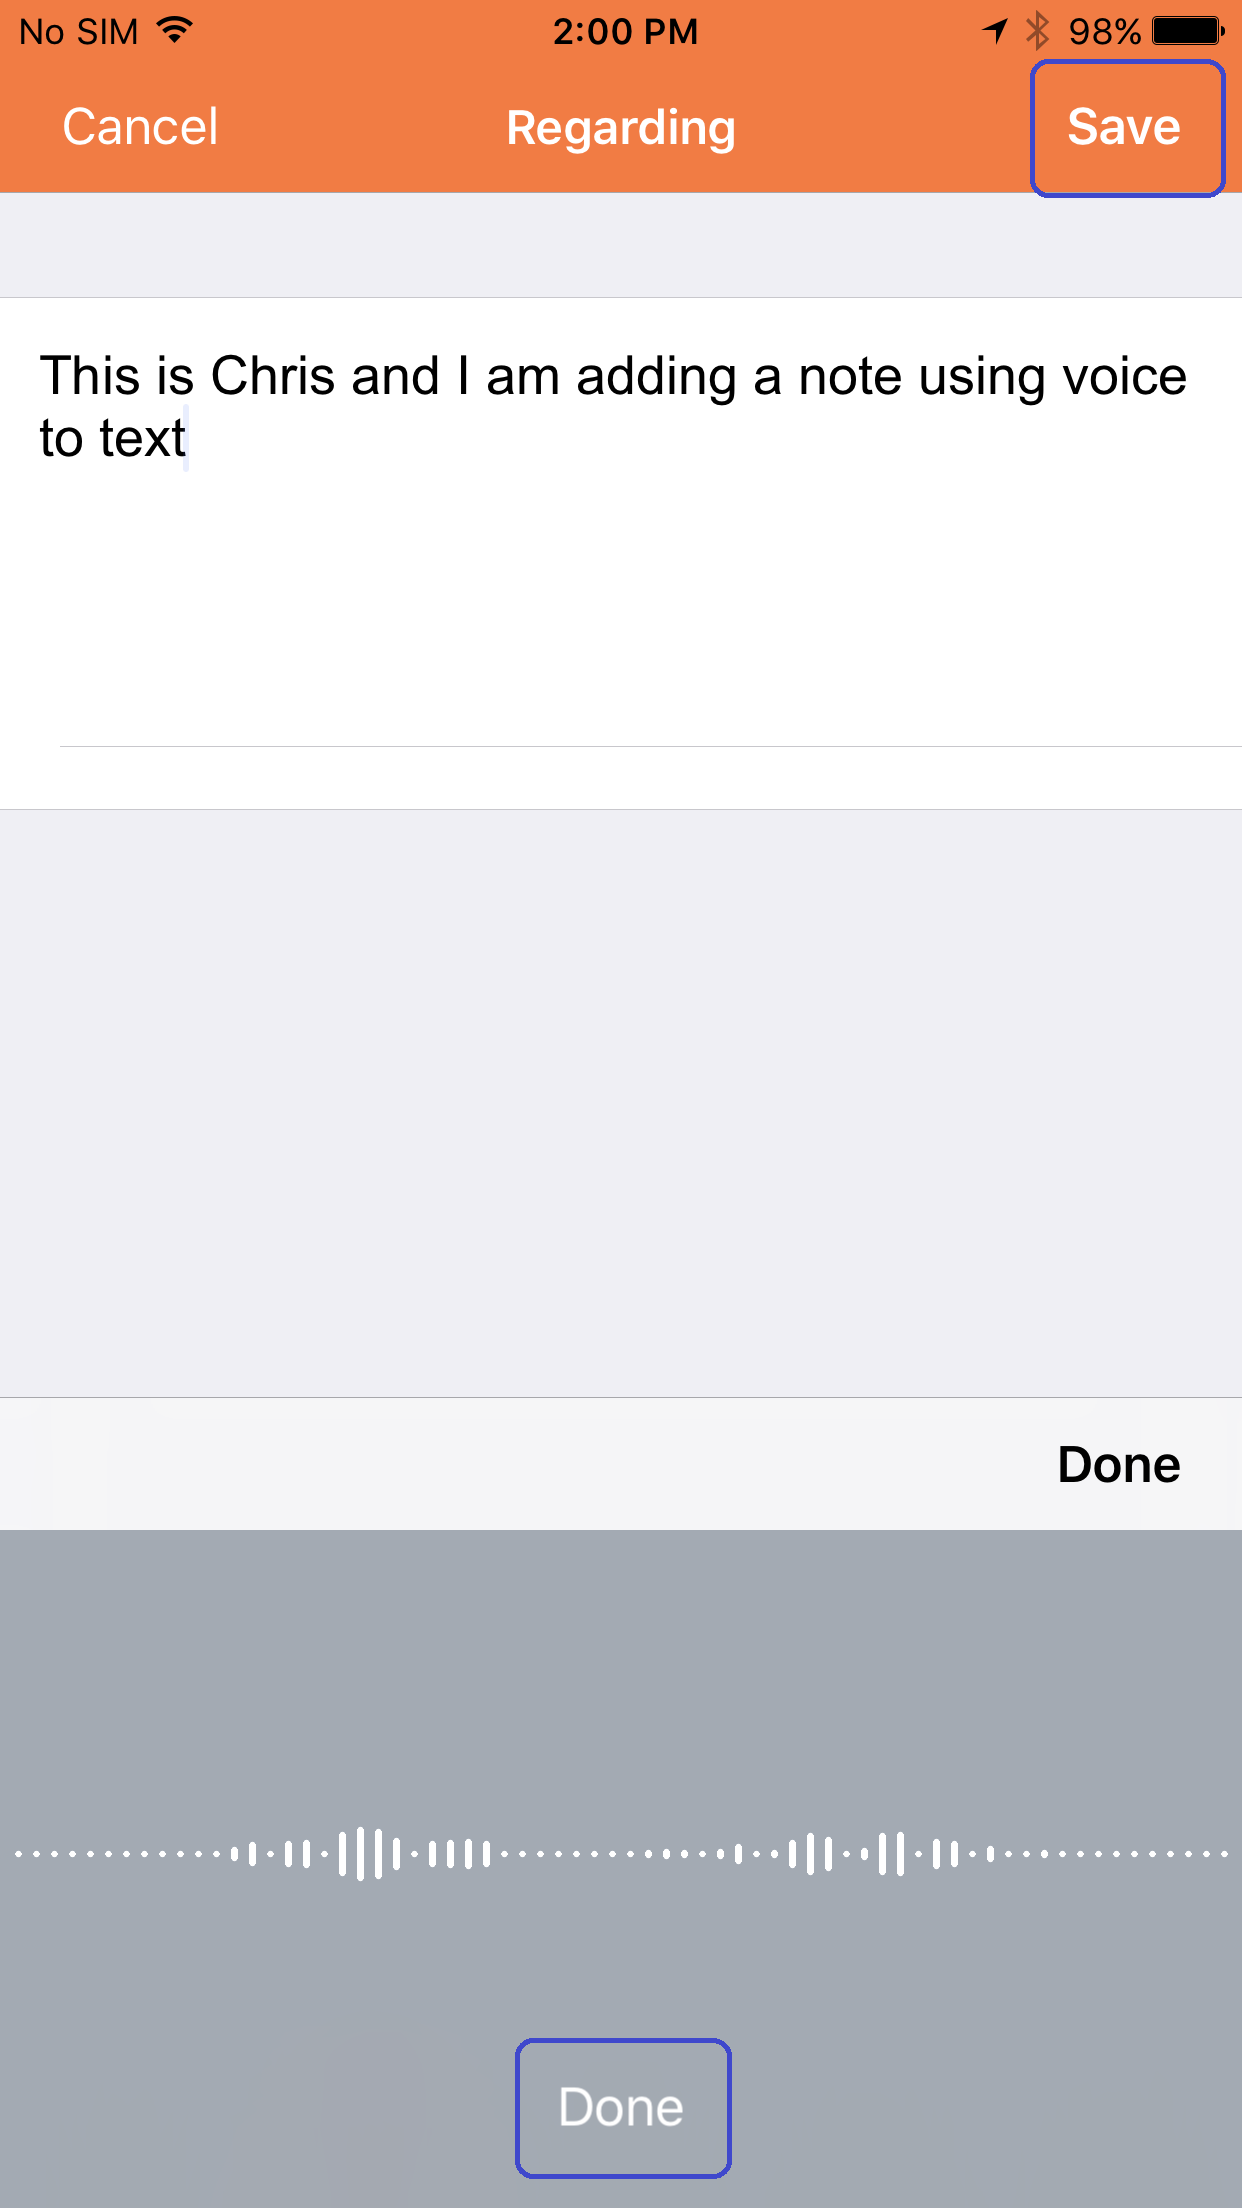
- Once you press this icon you can begin to dictate the text you would like entered. When finished, press Done within the keyboard. See this image.
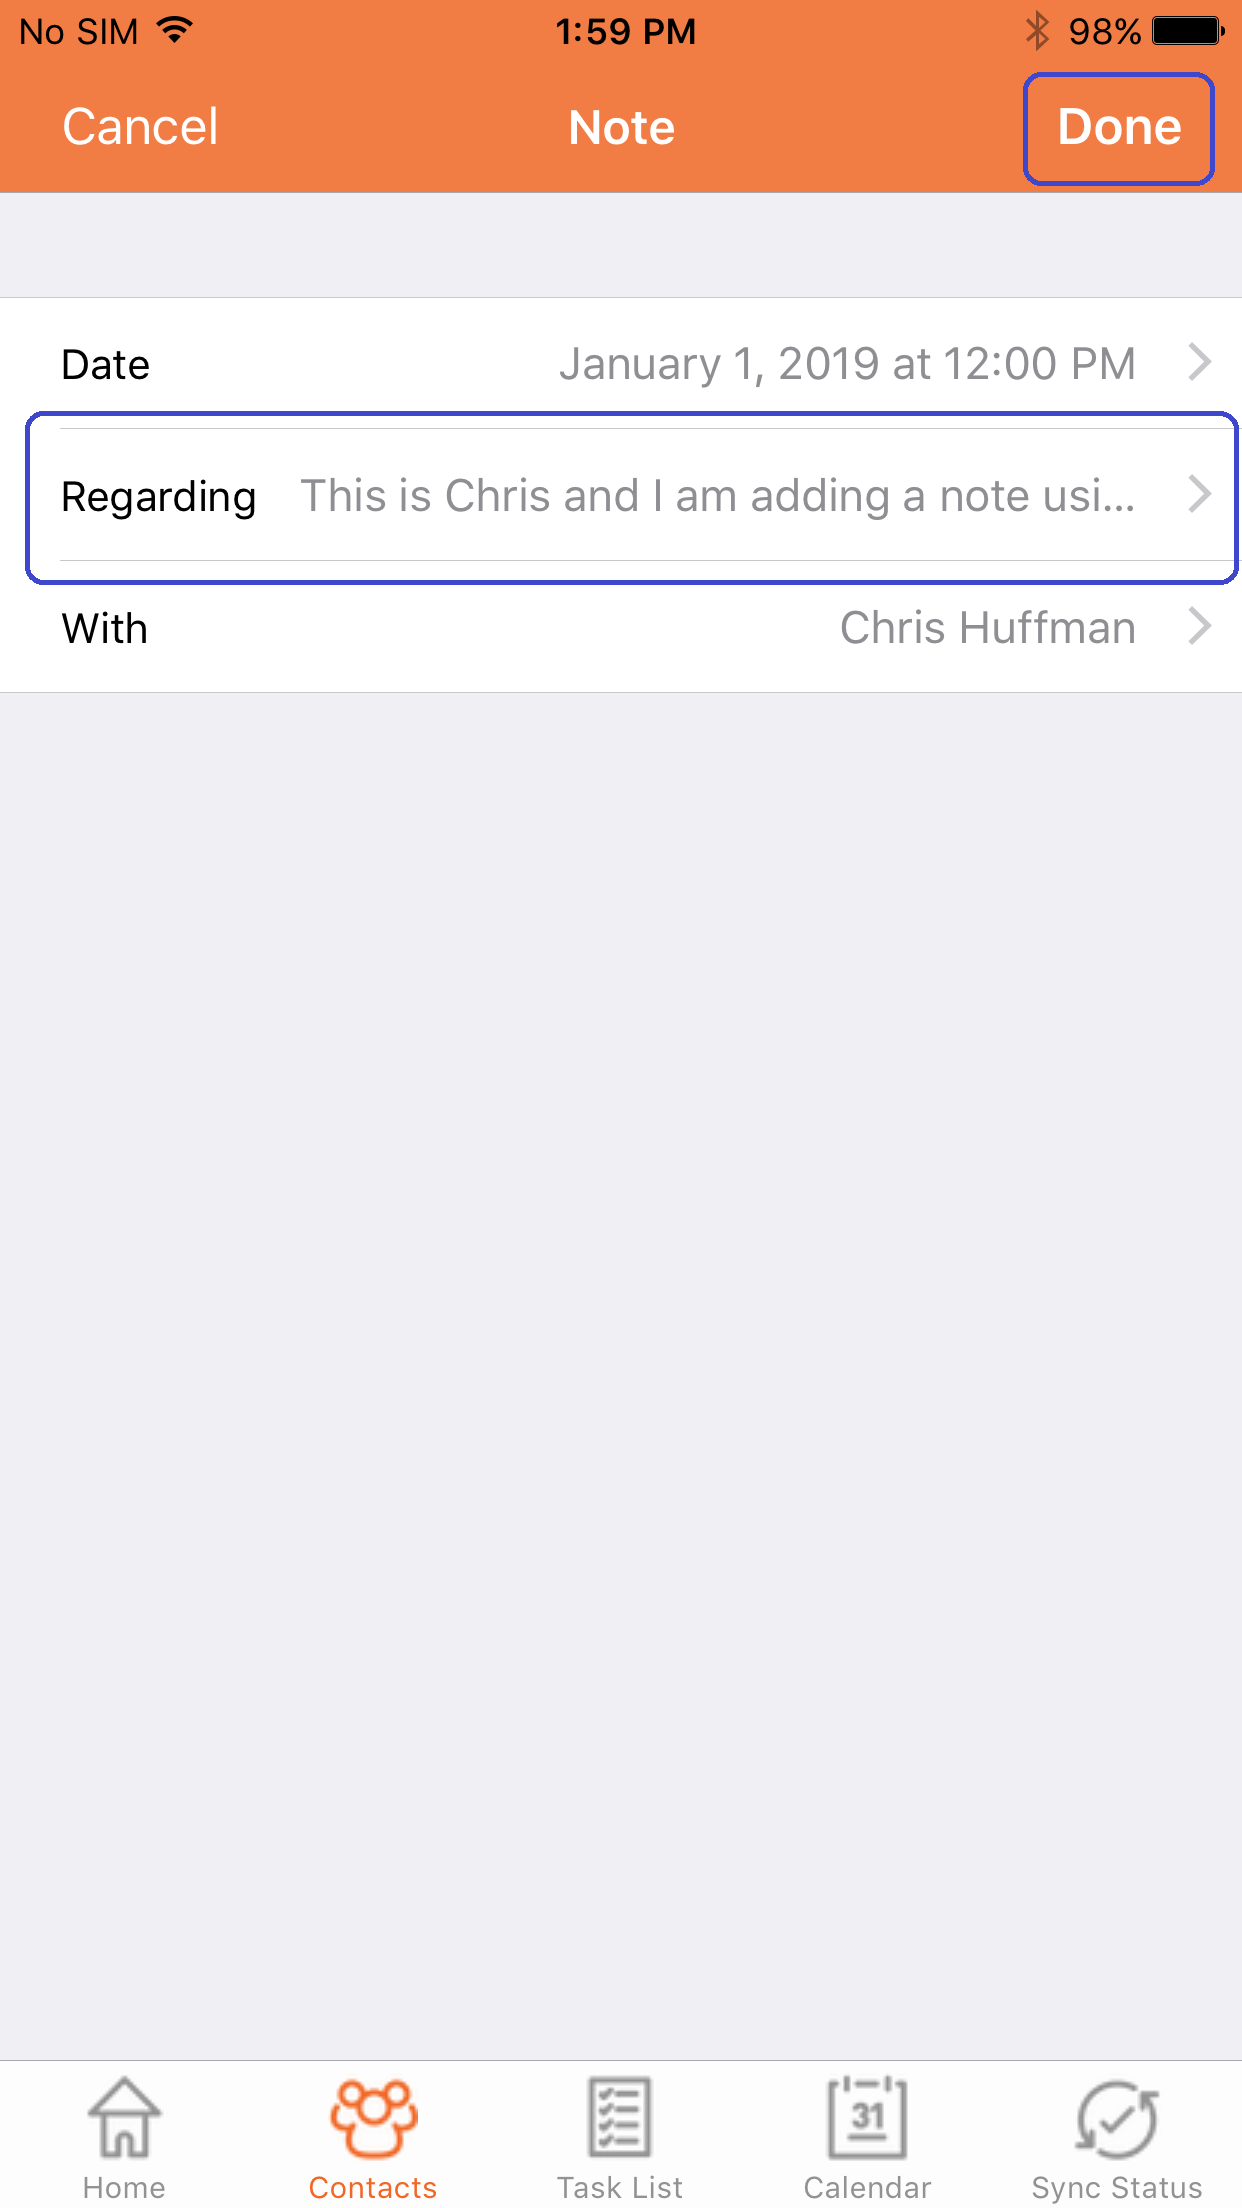
- The text will be saved into the Regarding field as needed. Make any manual changes to this if voice to text was not 100% successful.
- Press Save in the top right corner to save the Note. See this image.
- To complete and save the Note to the contact record, tap on the Done option in the top right corner.
Android devices:
- Open Handheld Contact on the device.
- Tap on Contacts and find the contact record to add a Note.
- Once the contact is opened, swipe to the right and open the Notes view.
- Press the '+' icon in the upper right corner.
- Set the Date/Time of the Note then tap on the Regarding field.
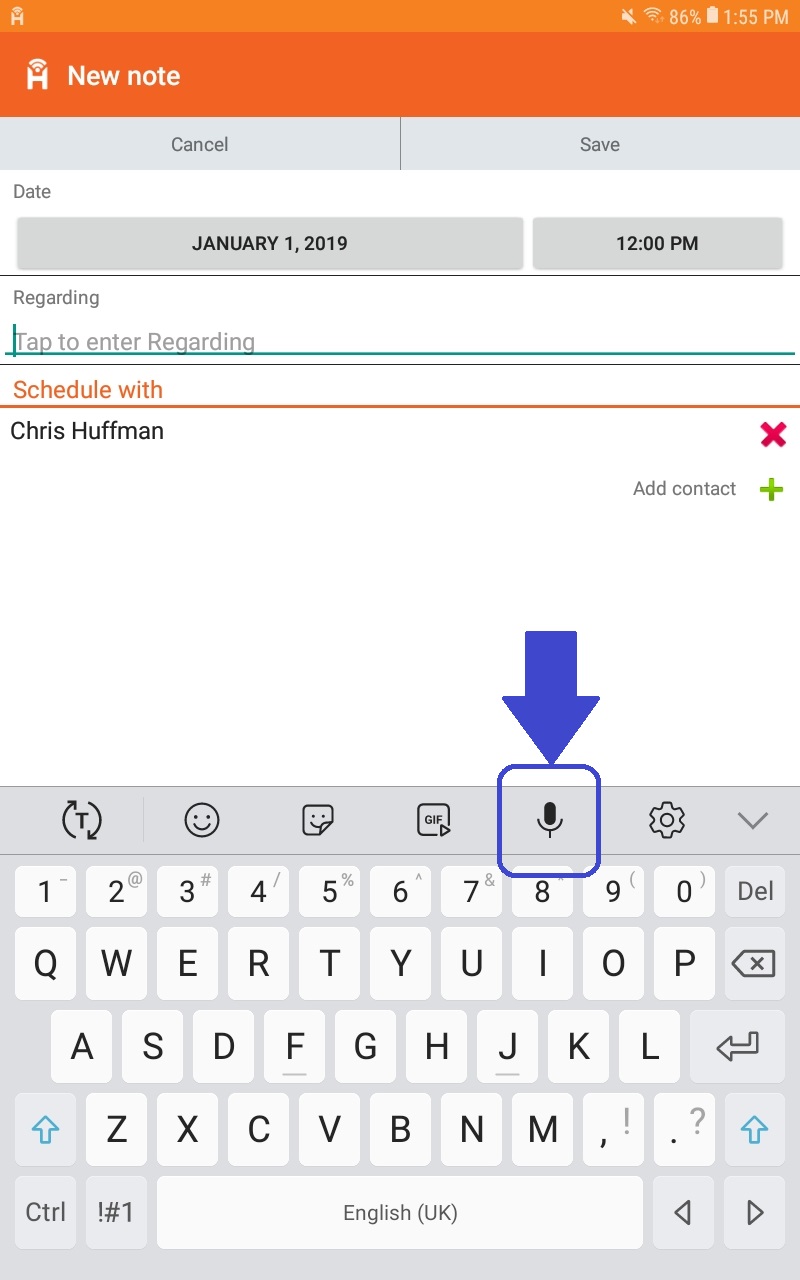
- Open the keyboard of the device and look for the microphone icon. See this image.
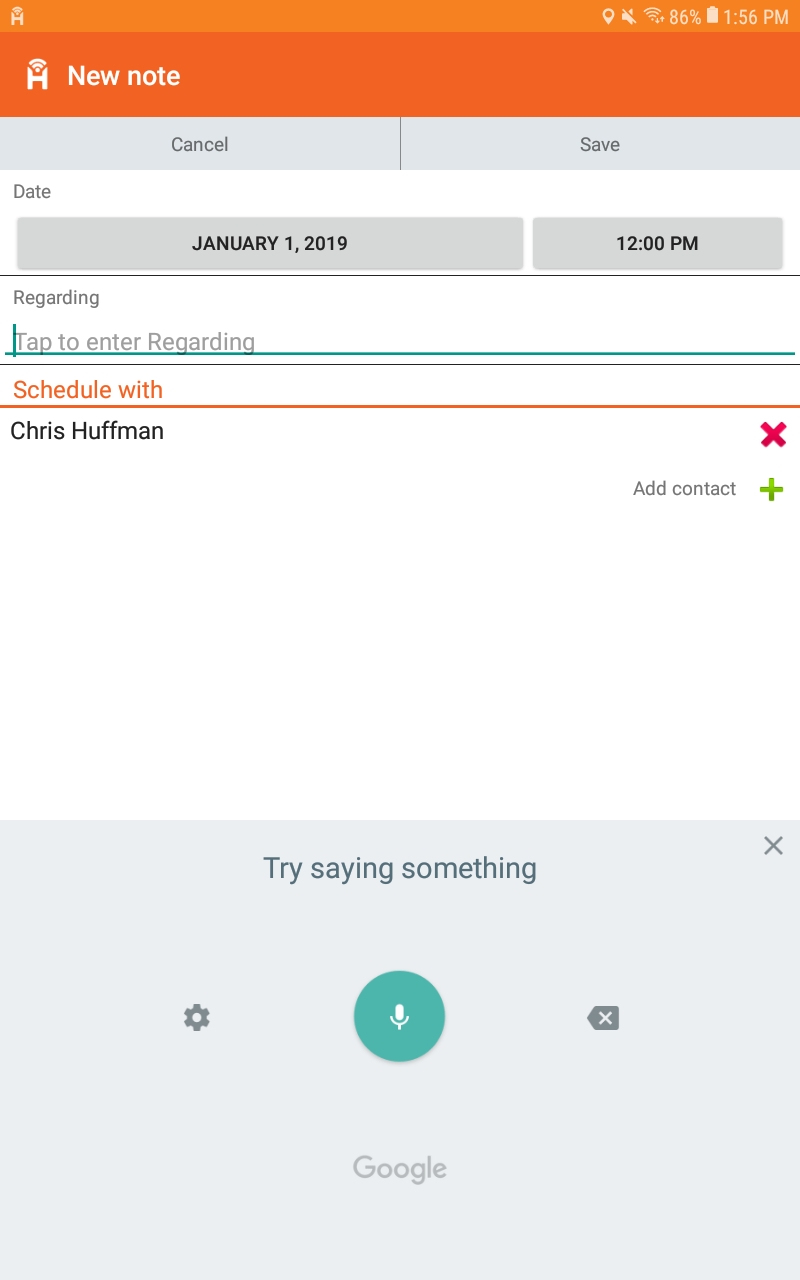
- Google will appear and you can begin to speak. See this image.
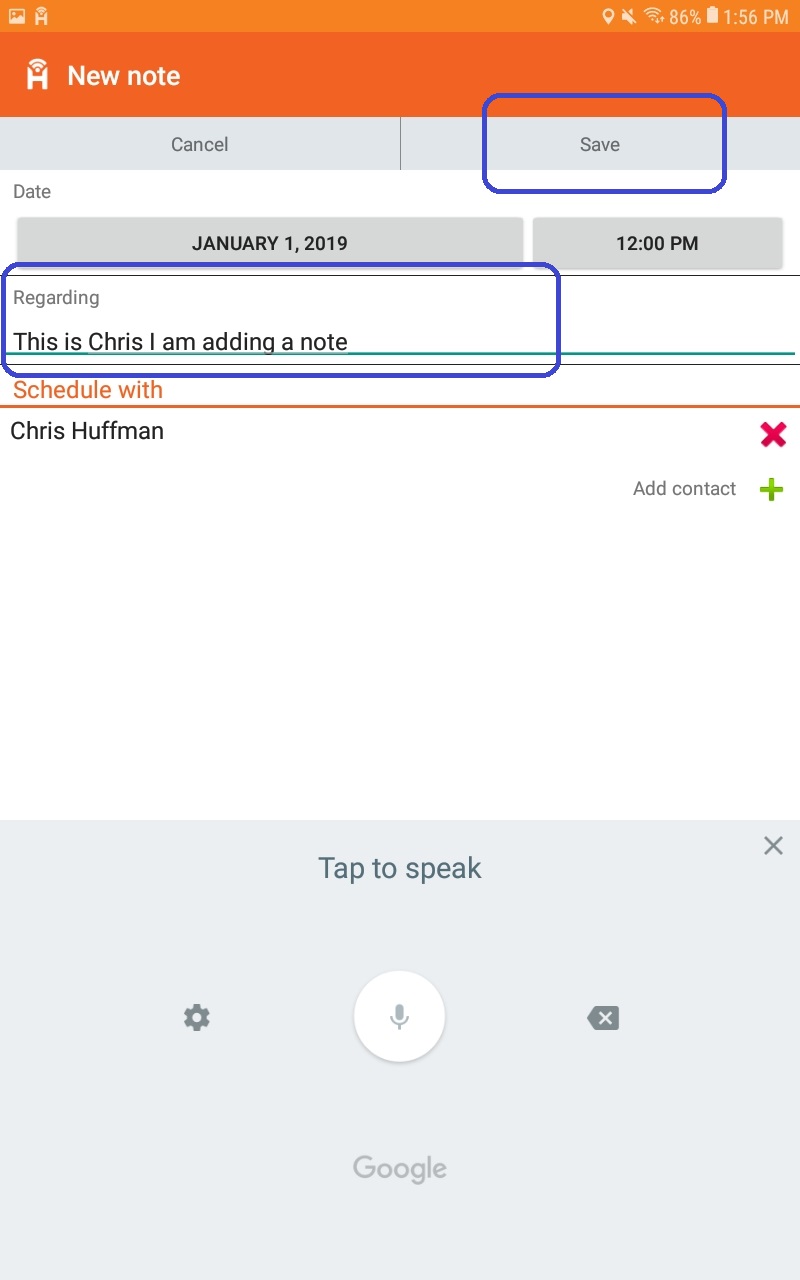
- When finished and your text appears in the Regarding field, make any manual changes to this if voice to text was not 100% successful.
- Press Save to save the Note. See this image.
| 